Carefully remove all the packaging. To connect the cables for all devices and power supply, place the unit face down on the screen, and remove the panel as shown in the picture below by sliding it towards you, away from the unit. It does take some force, don’t be afraid to push/pull it hard in the direction shown below:
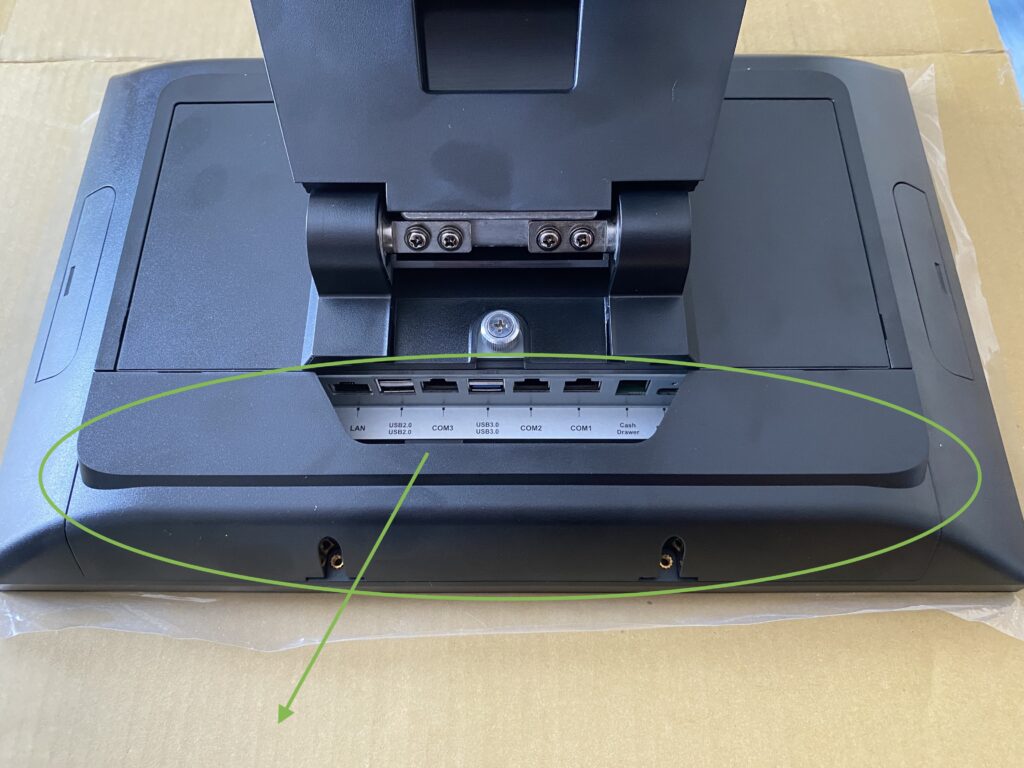
This will reveal all of the ports, and you can now connect any cables as required. The picture shows what to connect to what:

PLEASE NOTE: If you are connecting a Dymo label printer, it says in the included documentation not to connect it before the software is installed – please ignore this, connect all devices that you wish for us to install, and with printers ensure they are powered on, and have labels/receipt roll in them.
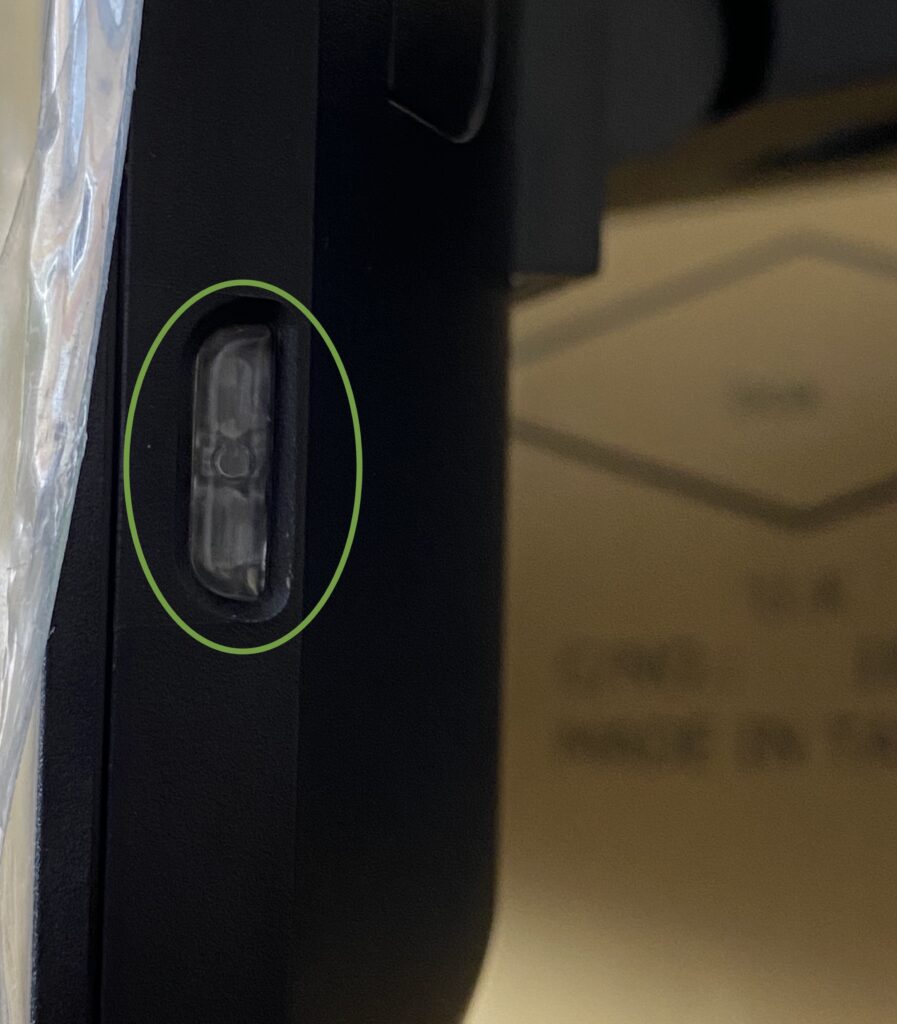
Once that’s done, move the till the right way up and arrange the cables as you see fit, so that everything is tidy, and power on the unit. The power button is on the right side of the display towards the bottom, as shown below:
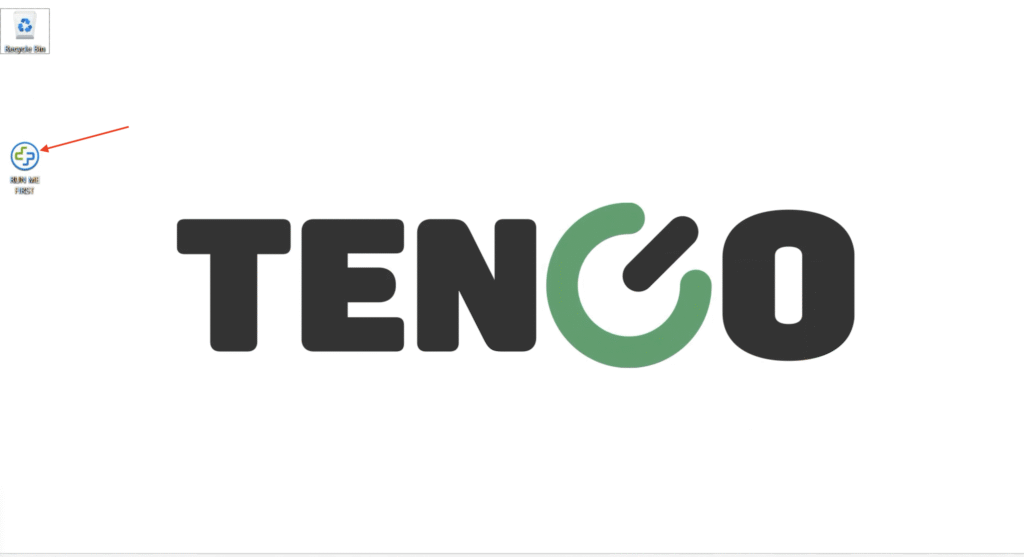
When the machine boots up, the Windows password is tengo, if it asks you for it. You will then have a screen similar to that shown below. When it is time for your remote installation, double tap the ‘run me first’ icon identified with the red arrow below, and provide the 9 digit code to the engineer who is performing the setup for you.