
If you are taking delivery of a new machine and we are not doing the installation on site for you, there is some initial set up to do before you get going. You will need to plug in a keyboard (unless its a back office, laptop type machine) to a USB port, together with your Receipt Printer and Label Printer, if you have one, and a Bar-code scanner. Some clients may wish to connect a Mouse temporarily to complete set up.Typically the keyboard, mouse and scanner are plug and play, any available USB port will suffice. Printers though, once set up to work with the machine, will only work properly when connected to the original USB port used at set up. It might be useful to mark the USB lead and corresponding USB port with, say, matching colored stickers so they always go back into the correct one.
Note – if you have received a machine direct from the manufacturer, rather than from Tengo, it will not have the TengoPoS software installed. You will have to contact Tengo Support to arrange for an engineer to connect remotely to the machine to complete set up. There is an article “Setting up PoS unit 335” which guides you through the physical set up and wiring for that type of till machine.
1/ The machine will have TengoPos installed. When you power it up and connect it to the Internet, you will see the Tengo ICON on the desktop –

Open this in the usual way, depending if the machine you have is touch screen, lap top, mouse attached – Double tap, or double click with a mouse, or press and hold for half a second then Open from the dialogue box which appears, etc…
The next screen will appear –
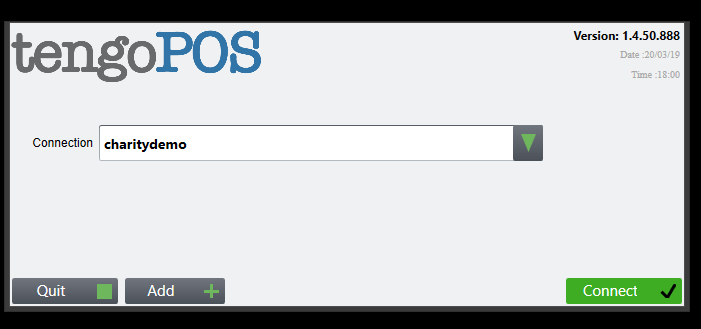
2/ Press “Connect” on this box.
N.b.-
- On your machine, in the box by Connection will be a name referring to your organisations database. Charitydemo is just a test database we use, ignore this.
- When you connect to the internet and open TengoPos, some updating takes place. You may see a box appear with a green progress bar, this may move left to right several times. Let it complete, PoS will then open automatically.
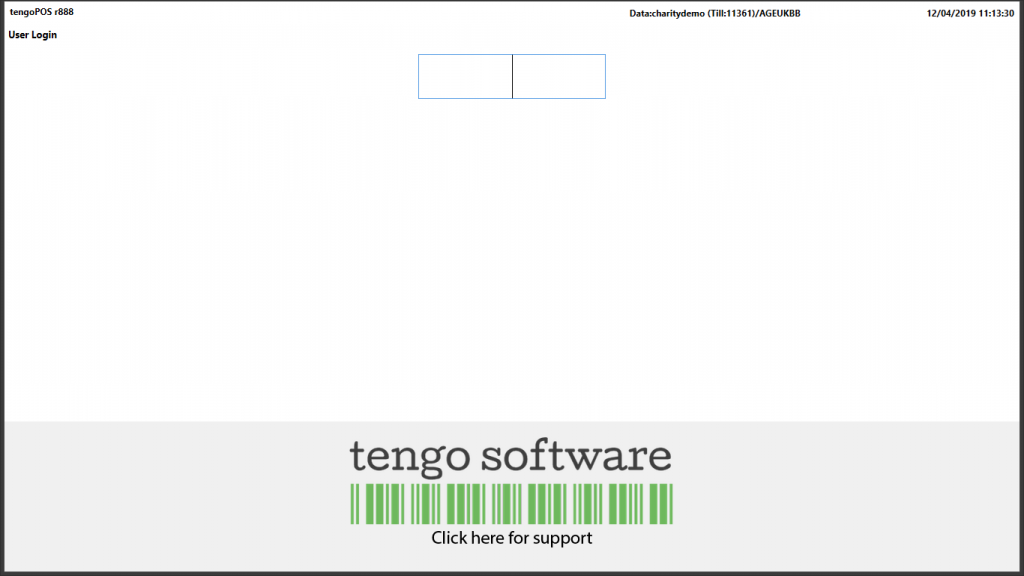
3/ Log in using your TengoPos password or scan in your bar-code, into the box top of screen with a a flashing cursor in it (The black line in the screen shot below, in the middle of the log in box)
4/ You may then see a screen like this, if your layout needs editing –
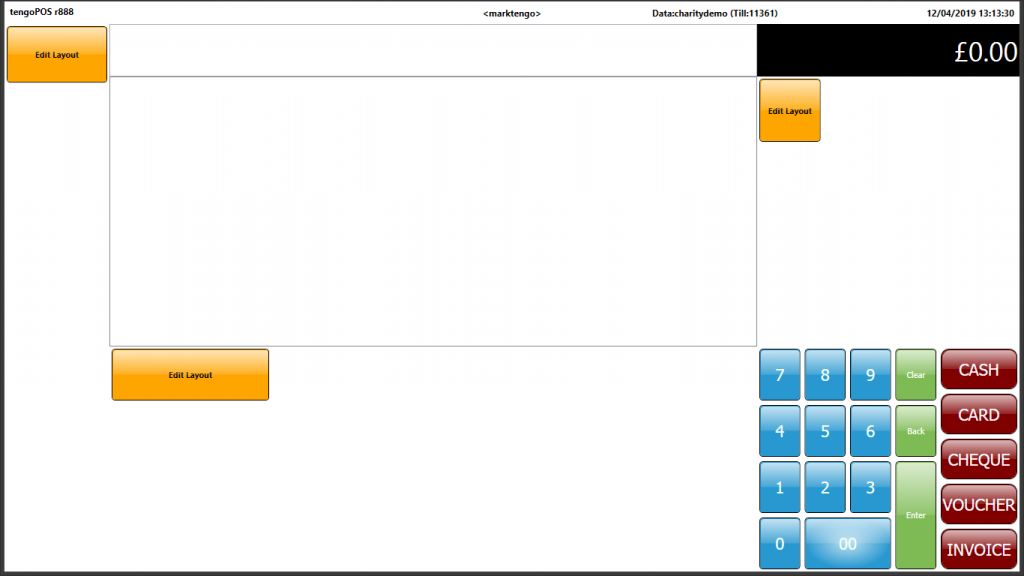
5/ Type \\TILL and press enter on your keyboard
- n.b It does not matter if you use backslash \\ or forward slash // with all of these commands, either works.
- Also note, it is likely that these \\ commands are restricted to Administrator level users. See article Adding and Editing Users for general info on this.
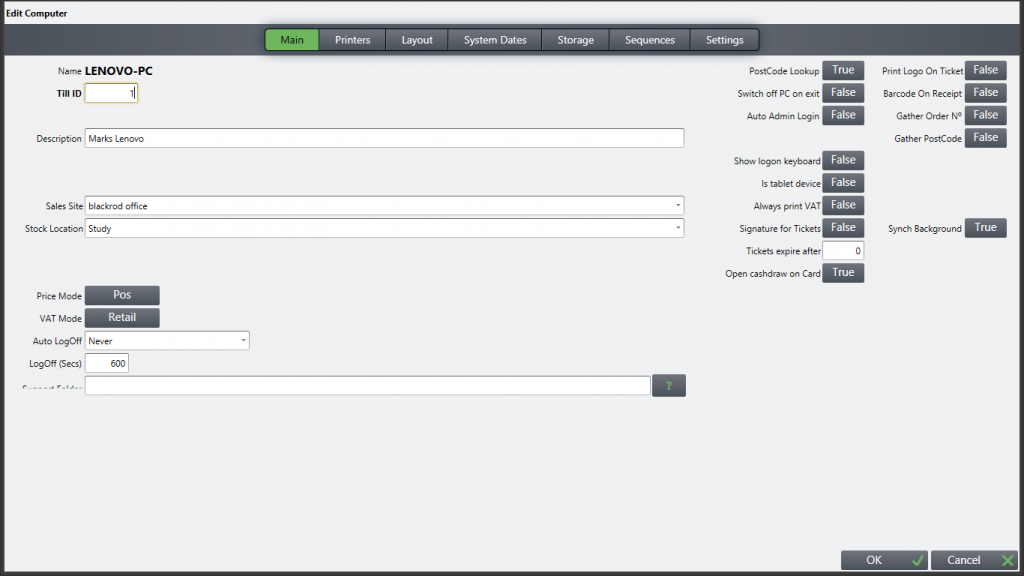
6/ The Edit Computer screen below appears, “Main” being highlighted in green at the top. Some of these fields may already have been completed by Tengo.
- Till ID – Will normally be the next sequential till number, so type in “1” if it is the first Tengo till you have, “7” if you already have 6, etc.
- Type a description in the Description box, this is to help identify the till, so it might be the geographic location if you have multiple sites, and if there is more than one till at a site you would differentiate them, e.g. “town branch left till” “Location Cafe till” “Anytown back office”. The box can be left blank, no harm is done.
- The Sales Site and Stock Location must be set from the Drop Down. If there are none there, your organisation may only have one site and so none have been set. Close PoS and re-open when the updates have completed.
- Sales Sites can be added / edited by typing \\SITE on the main till screen, Stock Locations by typing \\LLOC. There are knowledge base articles about this
- It is the Till ID number above that will appear as the Till Number in your sales reports, together with the sales Site.
- The Stock location is important for clients with multiple sites, who keep records of stock quantities. Be mindful of this should you have any reason to move a till from one location to another, they may need changing to match the new location.
7/ On this page you can also set an automatic LogOff, e.g. change Never to If Empty and Seconds from 0 to 600 – and the till will fall back to the log in screen if it has not been used for 10 minutes. If you do this, ensure you put a time span in the seconds box before you press OK!
8/ On the right of the screen, there are some toggle switches. The main ones are –
- Post code Lookup – if you subscribe to this, ensure it says True
- Always print VAT will put a VAT analysis on the receipt when set as True.
- Open cash drawer on Card – optional depending on your organisation guidelines. Opens when True
- Bar Code on receipt – A bar-code to identify the sale will always print, this does not have to be set to True
- The remaining ones can usually be left as they are
9/ Layout. When you have finished editing the Main screen shown above at point 6, press the Layout tab at the top.
- For most Shop set ups, Layout Mode should be set as Admission. The alternatives may be Hospitality and Utility, typically used for bar sales and back office use respectively. You will know if these options are for you.
- Layout Code – This should be set from the drop-down for your organisation. There may well only be one choice. It is this that will put your till layout on screen, when you press OK
- The numbers to the right (in mm) enable you to fine tune the size of some of the sections of the till display. Take care, the default settings work best for most customers.
- Press OK in the bottom right corner, and the main till screen will open with the changes you have made applied. Cancel would close the screen without applying any changes, from this page or any previous ones you have worked on.
10/ Printers
Other than in exceptional cases where printers have already been installed by Tengo, and the USB Ports labelled so that they are connected to the same ones when you plug them in, you will need to contact Tengo Support to arrange for an engineer to contact you. They are not “Plug and Play”, software needs to be installed and then TengoPos configured to work with them. This can take 20 – 30 mins. The engineer will make sure they are working by doing test prints. Below is some useful information to help you manage the printers and understand the settings in TengoPoS. The engineer will have made sure these settings are correct initially.
- Press the Printers Tab
- Receipt Printer – use the drop-down and select your printer from the list. The list will include all the printers installed on your machine. Usually you will have either a POS80 printer, or an Epson TM T20. Whichever you have, make sure the Driver is set as Windows
- Cash Drawer – this is triggered by your receipt printer, so chose the same printer from the drop-down menu. In this case the Driver is always set as Epson, even if as in the screen below it is a POS80 printer. The telephone like wire from your metal till drawer goes into the back of the receipt printer, take care you pick the correct socket, sometimes there are 2 and it will fit either
- Label Printer – Will very likely be DYMO 450, if one is installed. Driver again always Windows. Label size is 11355, if its not printing on the label part you may have to go into the Windows printer settings. Open Control Panel, then Devices and Printers, select the Dymo, right click, > Printing Preferences > Advanced settings and change to 11355 from the long list.
- Click Test to perform a test prints
- Press OK to save your changes and close the page
You will not use the other tabs further to the right. Basic set up is now complete
Related search terms: //TILL