Further to the general article on Adding and Editing buttons on the till, here are two more features you may wish to use. If you are having difficulty with these please contact us for help via – www.tengosupport.com
Prompts
A prompt is just a paragraph or sentence of text that can appear when a button is pressed. When the prompt text box is closed, the next step programmed in on that button (e.g. a product sale) follows automatically if there is one.
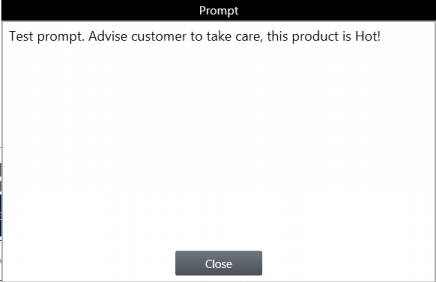
Let’s look at a simple example. If we want a reminder to advise a customer that coffee is hot, on the Coffee button we can program in a prompt, to appear on screen when the product is selected. Note the wording used here is a simple example to show how the process works, using a test database. It is not a recommendation!
If you have the correct access level, right click on your Coffee button on the till, to enter the button edit screen. (See the article Editing Buttons, for general information about the editing process). Screen shot below is the left hand panel of the edit screen, just showing the product before we add the Prompt –
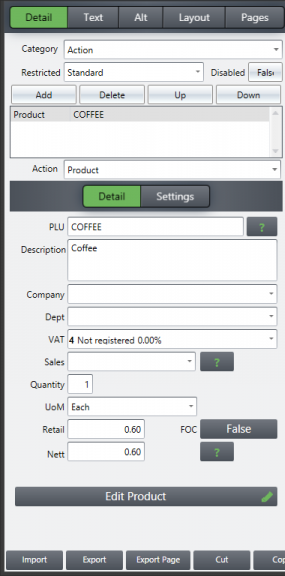
- To add the prompt, press the Add button (4th line down), then using the arrow to the right of the word Product to show the full alphabetical list of actions, change Product to Prompt by selecting Prompt from the list.
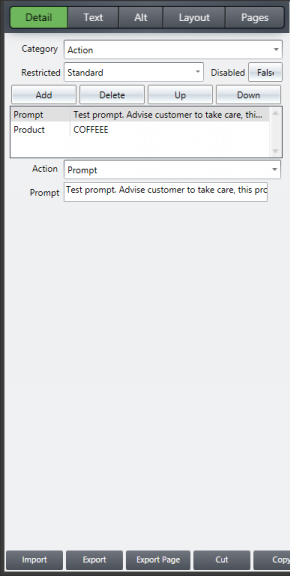
- Type the Prompt in the box as you want it to appear on the screen. You will only see one line of the text, but the prompt can be much longer than this.
- When you Add actions, they default to the bottom of the list. You want the prompt to display before you sell the product, so with your Prompt highlighted press the Up button to move it up one in the ranking, so it is above the product, as shown below.
- When you have finished, press OK bottom right of screen to close the edit page, or you can add / delete / move the actions up and down in the order, using the appropriate buttons.
Now, when you sell Coffee, the following appears in the center of the screen. Close the box, and continue with the sale as normal.
Queries
In this context, a query is a question that can have the answer Yes or No, and what happens next on the till depends upon the answer given.
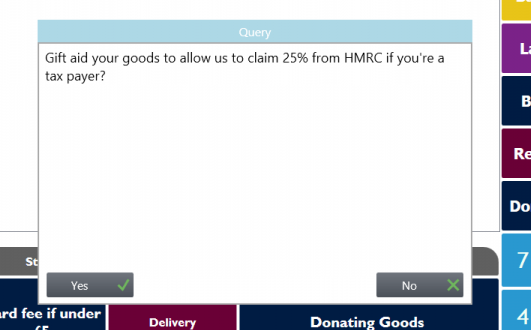
Example – Customer is donating goods, you want to ask the customer – Do they qualify and if so want to Gift Aid the donation?, to which they can answer yes or no. If Yes, you want the till to move to the Donor Details capture screen. If No, no further action as you do not need their details.
- Right Click on your Donating Goods button to open the Edit page
- The example screen shot below already has the Query on the button
- The steps to follow to put this on are –
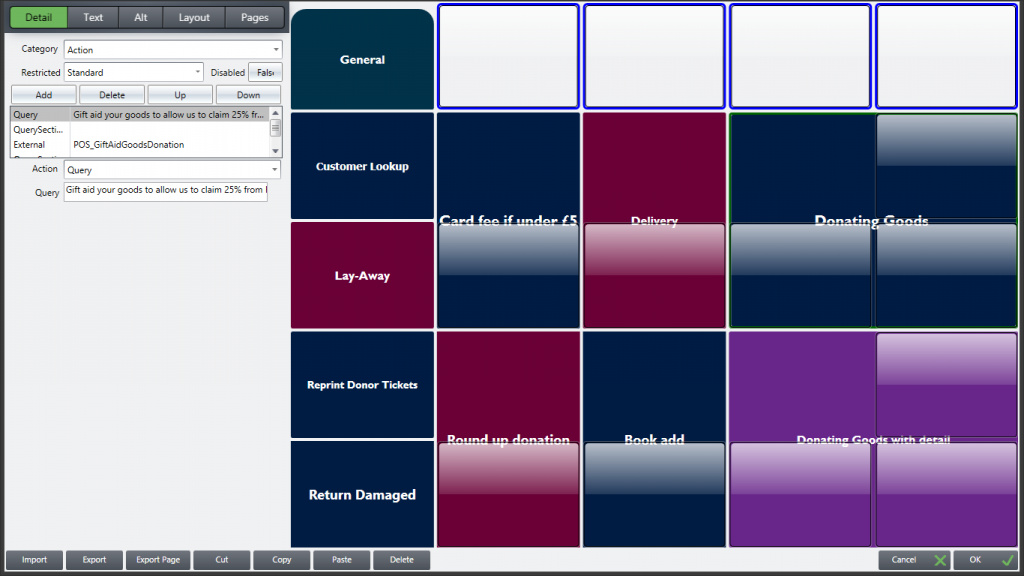
- Add an Action – Query (chosen from the drop down menu on the Action line) and type in the question as you want it to appear. Note the wording you see here is intended only as a simple example, it is not the full script your organisation will require you to ask the potential Donor.
- Next Add an action – “Query Section Yes” from the drop-down menu

- Then add the action you want when the answer is Yes, in this case find the Action – “External” on the drop down list, and press the ? symbol next to where it says Select Table. This reveals a further list of actions you can put on a button
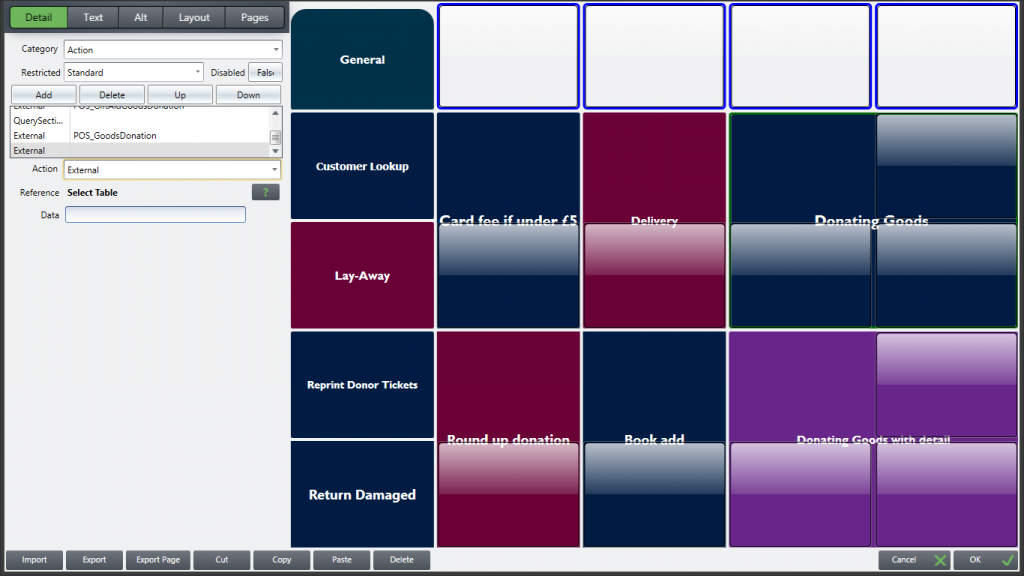
- The list revealed from the Action – External is a long one. Most of the functions are for Tengo internal use, but in this case it is worth showing how you can filter the list to shorten it (below by typing Donation in the search box then Enter, the list shortens to include only options with the word Donation in them)
- Select the action we want as shown on the highlighted line, and press OK

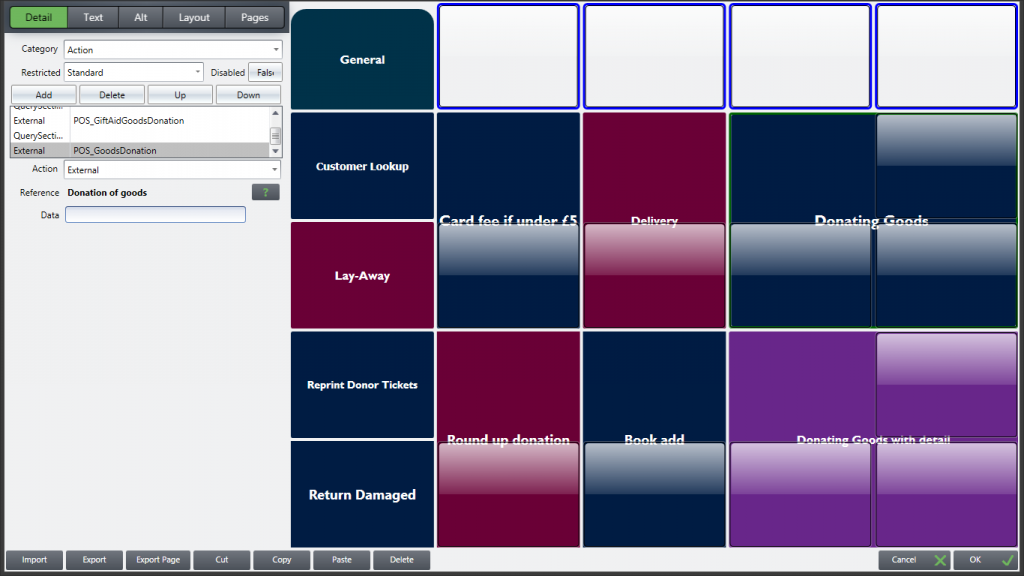
- The Action selected from the list then appears by External in the list of button actions as below

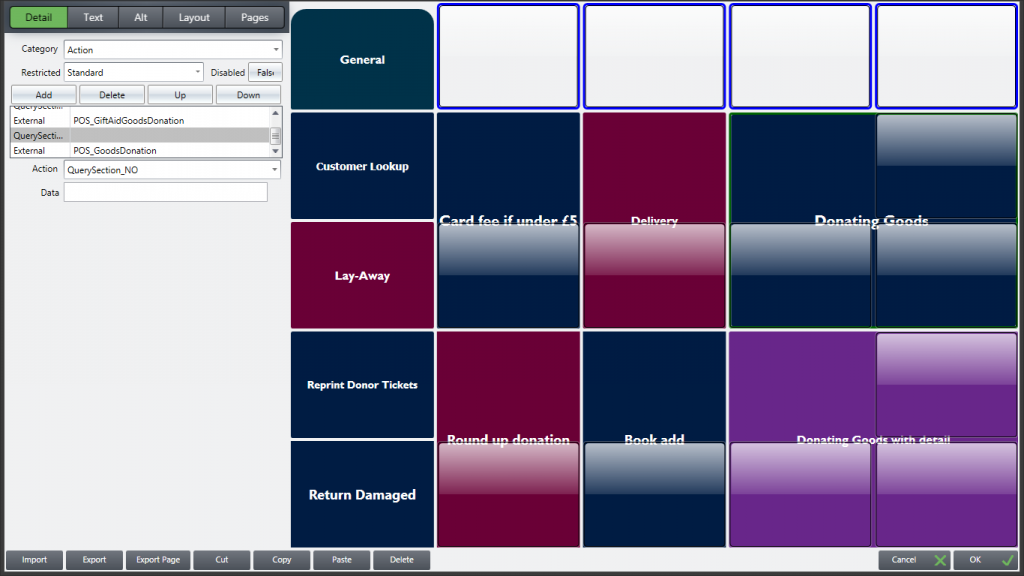
Next we tell the till what to do if the answer is No – Chose the Action – “Query Section No” from the drop-down list –
- Then Add the Action from External, Donation of Goods no donor information taken

- Now when you press the Donating Goods button, the following box appears center screen. Yes takes us to the Donor details capture screen, No closes the box with no further action as we do not need the Donors details.